Hearty Easter wishes

Simple Easter card for unforgettable moments!

As Easter approaches, we all look forward to those special moments of gathering with family and friends. But what could be a special gesture to give? Handmade cards emanate a unique warmth and create cherished moments. Here is a step-by-step guide for an Easter card that will surely bring a smile to faces.


ERROR: Content Element with uid "43690" and type "gridelements_pi1" has no rendering definition!


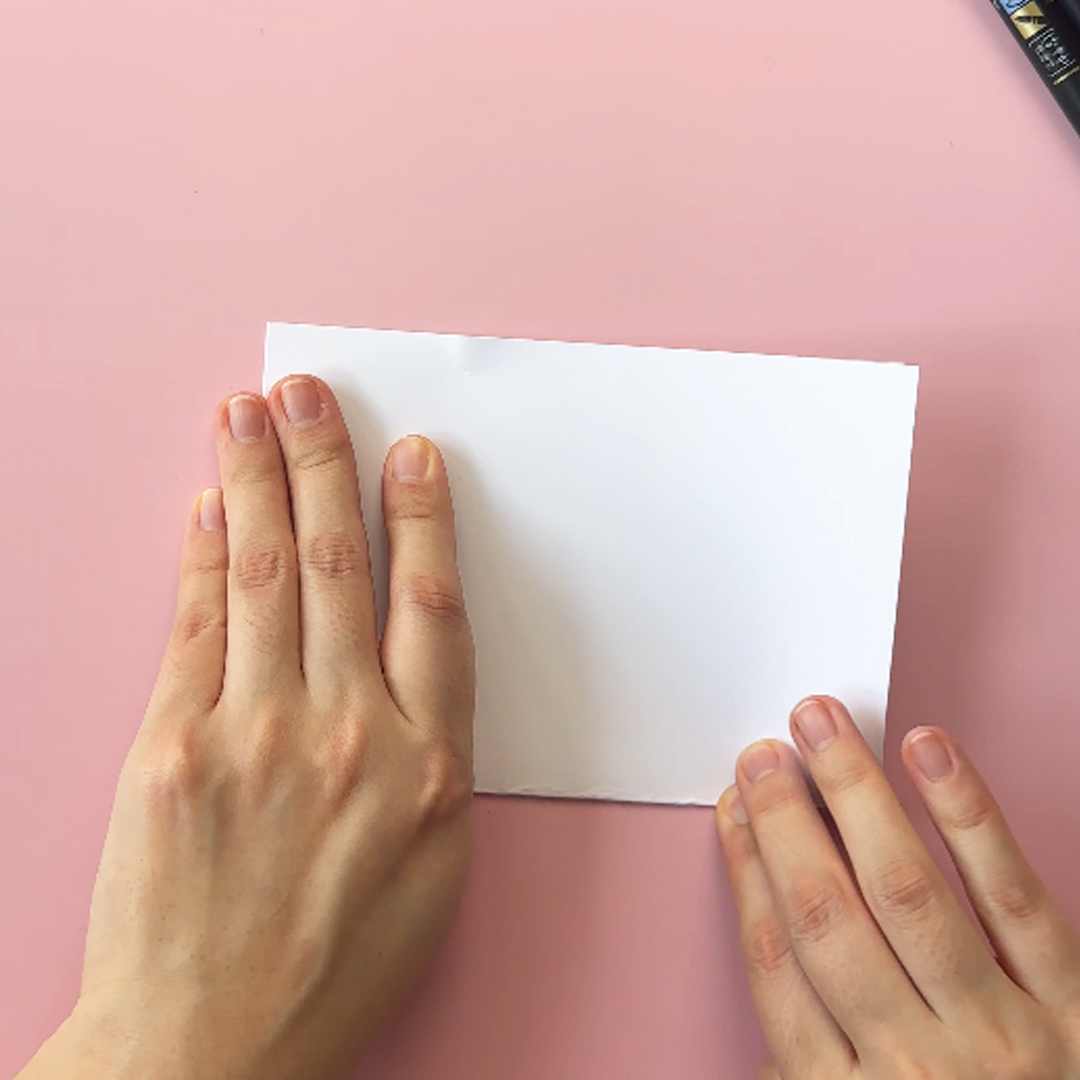
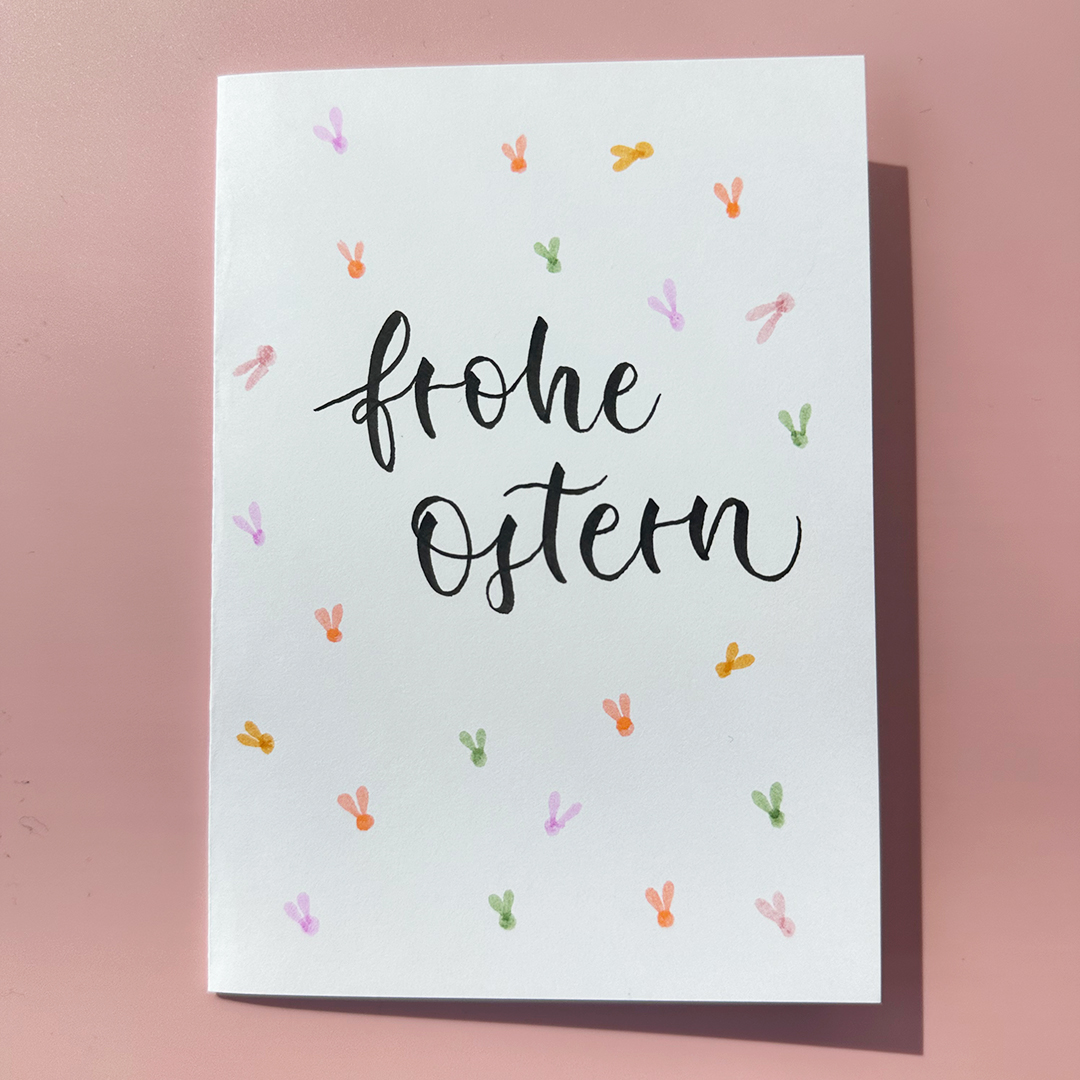
Step 1: Crafting Your Card

Fold a piece of sturdy paper or cardstock in half to form the base of your card. While a standard size for greeting cards is often A6 (105 mm x 148 mm), feel free to choose a size that suits your vision. You can also explore different shapes, like hearts or rounded corners, for added charm.

Step 2: Lettering

Compose your Easter message using the Fudenosuke Brush Pen. If you're seeking more brush versatility and are proficient in lettering, consider employing the ABT Dual Brush Pens.

Tip: To assist you, you can also sketch the lettering lightly with a pencil beforehand.

Step 3: Bunny Faces

Using the brush or fine tip of the ABTs (refer to the color recommendations in the materials), draw small round dots in various colors.

Step 4: Bunny Ears

Now, let's give those dots some ears. Use the brush tip of the ABTs to draw the ears. The tip is already shaped to create an ear shape when pressed. Slowly press the tip from point to shaft onto the paper. Feel free to play with the colors to make your bunnies more colorful.

...and done<3

Try it out for yourself now and share your Easter card under #TombowFamily.


Discover more inspirations in our magazine!