On January 10, a penumbra eclipse will be seen across large parts of Europe. Here, the full moon is not completely covered by the umbra shadow of the Earth, but instead only drifts past the penumbra and is seen as a dark veil. In contrast to this, a total lunar eclipse occurs when the moon completely disappears in the shadow of the Earth and at that moment, it appears to us blood-red in the sky.
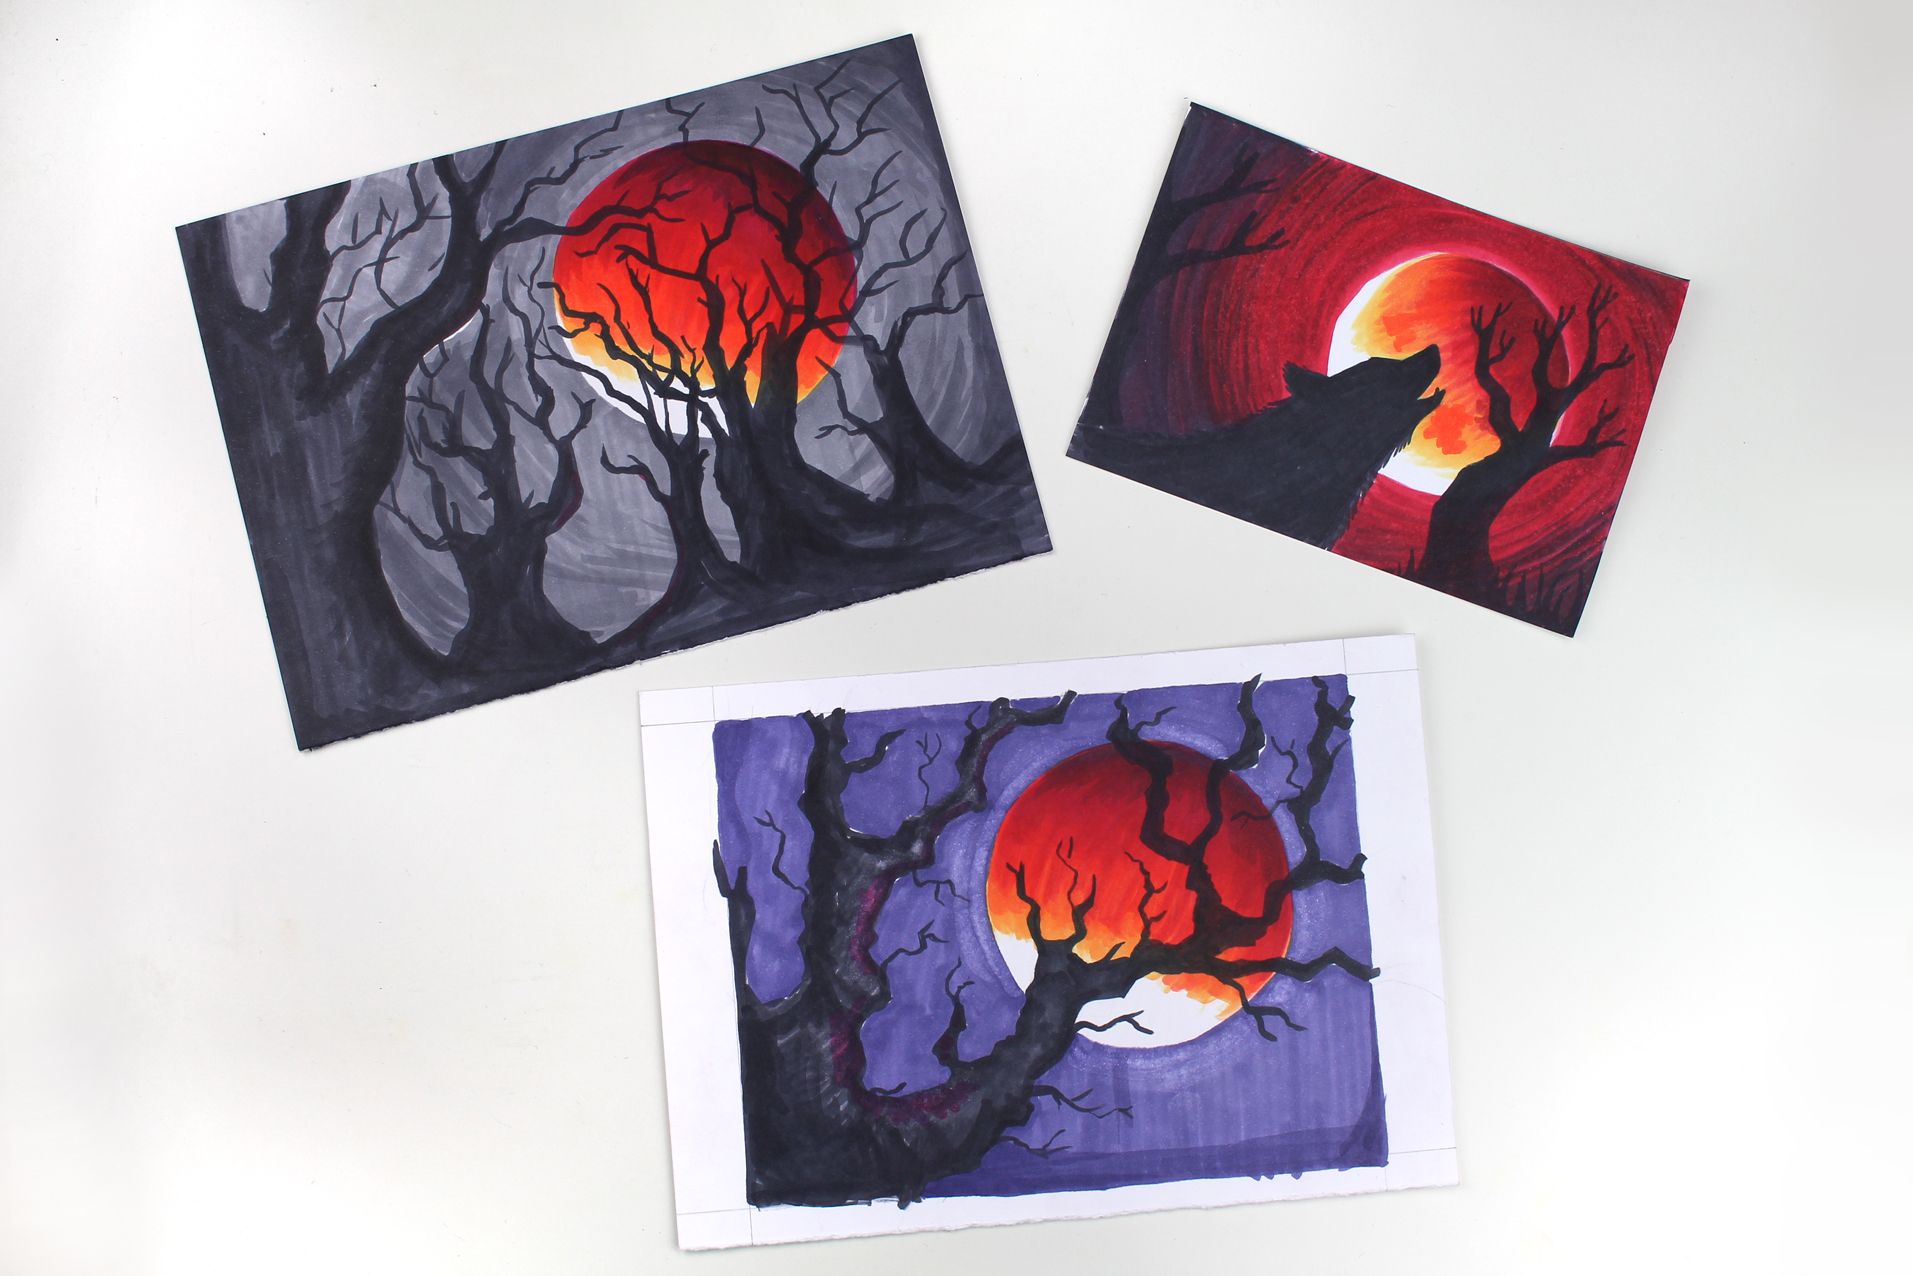
To mark the event, Olga and Stefan will show you step-by-step how to create eerily beautiful blood moon drawings with the alcohol-based ABT PRO markers.
Step 1: Blood Moon Sketch
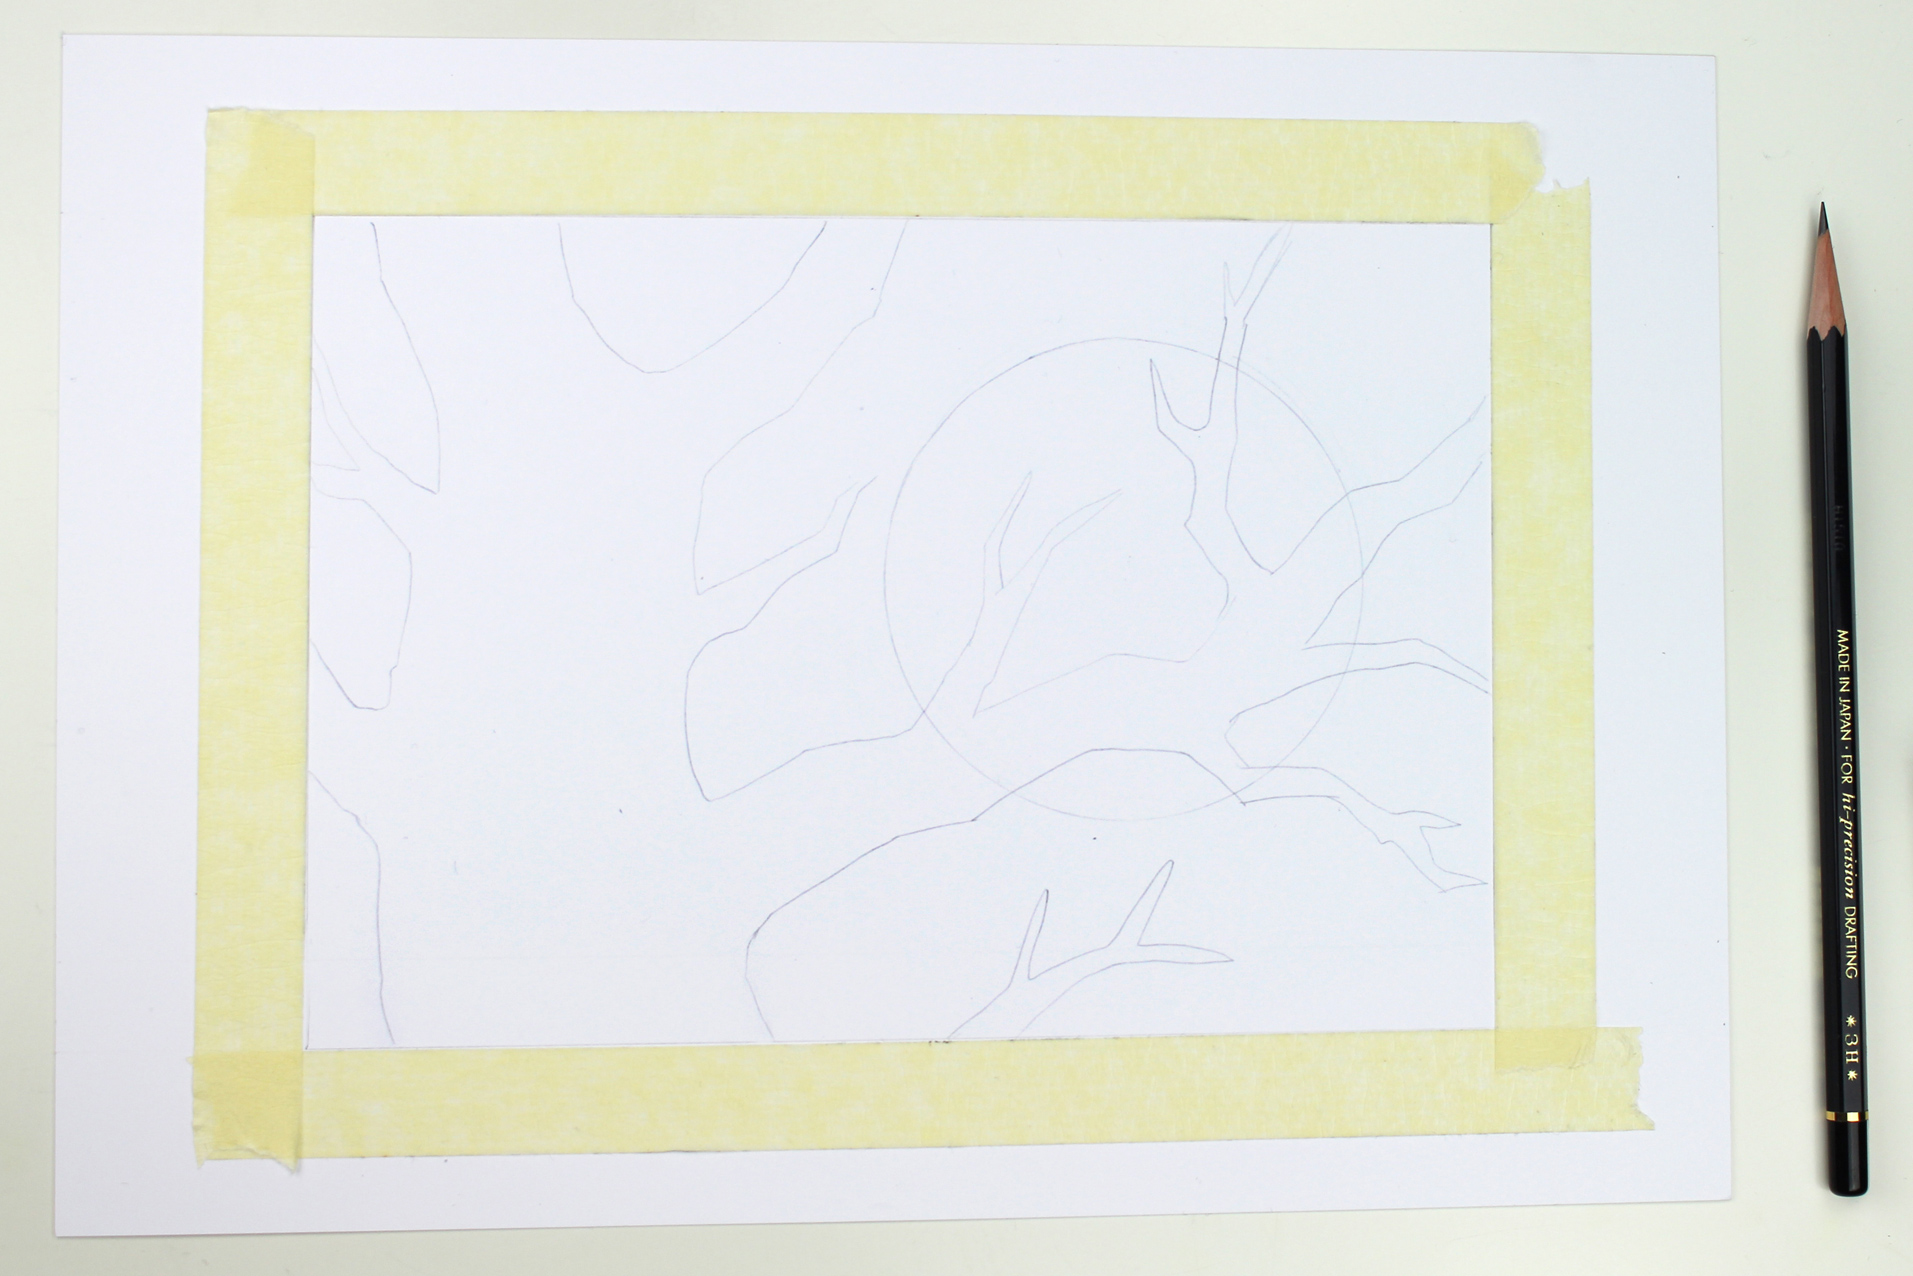
Use a ruler and pencil to draw a rectangle measuring approximately 15 x 21 cm (5¾" x 8½") in the middle of your sheet of paper. Then use the compass to draw a circle for the moon starting at the top right and draw a tree on the left side.
Then mask off the rectangle with masking tape. The edges of the masking tape will help give your picture a straight frame later on.
Tip: Make sure to try the masking tape on another sheet of paper beforehand to see if it can be removed without damaging the paper and remember to put a piece of scrap paper under your drawing. Depending on how many layers of color you use for your drawing, the alcohol-based ink can bleed through the paper.
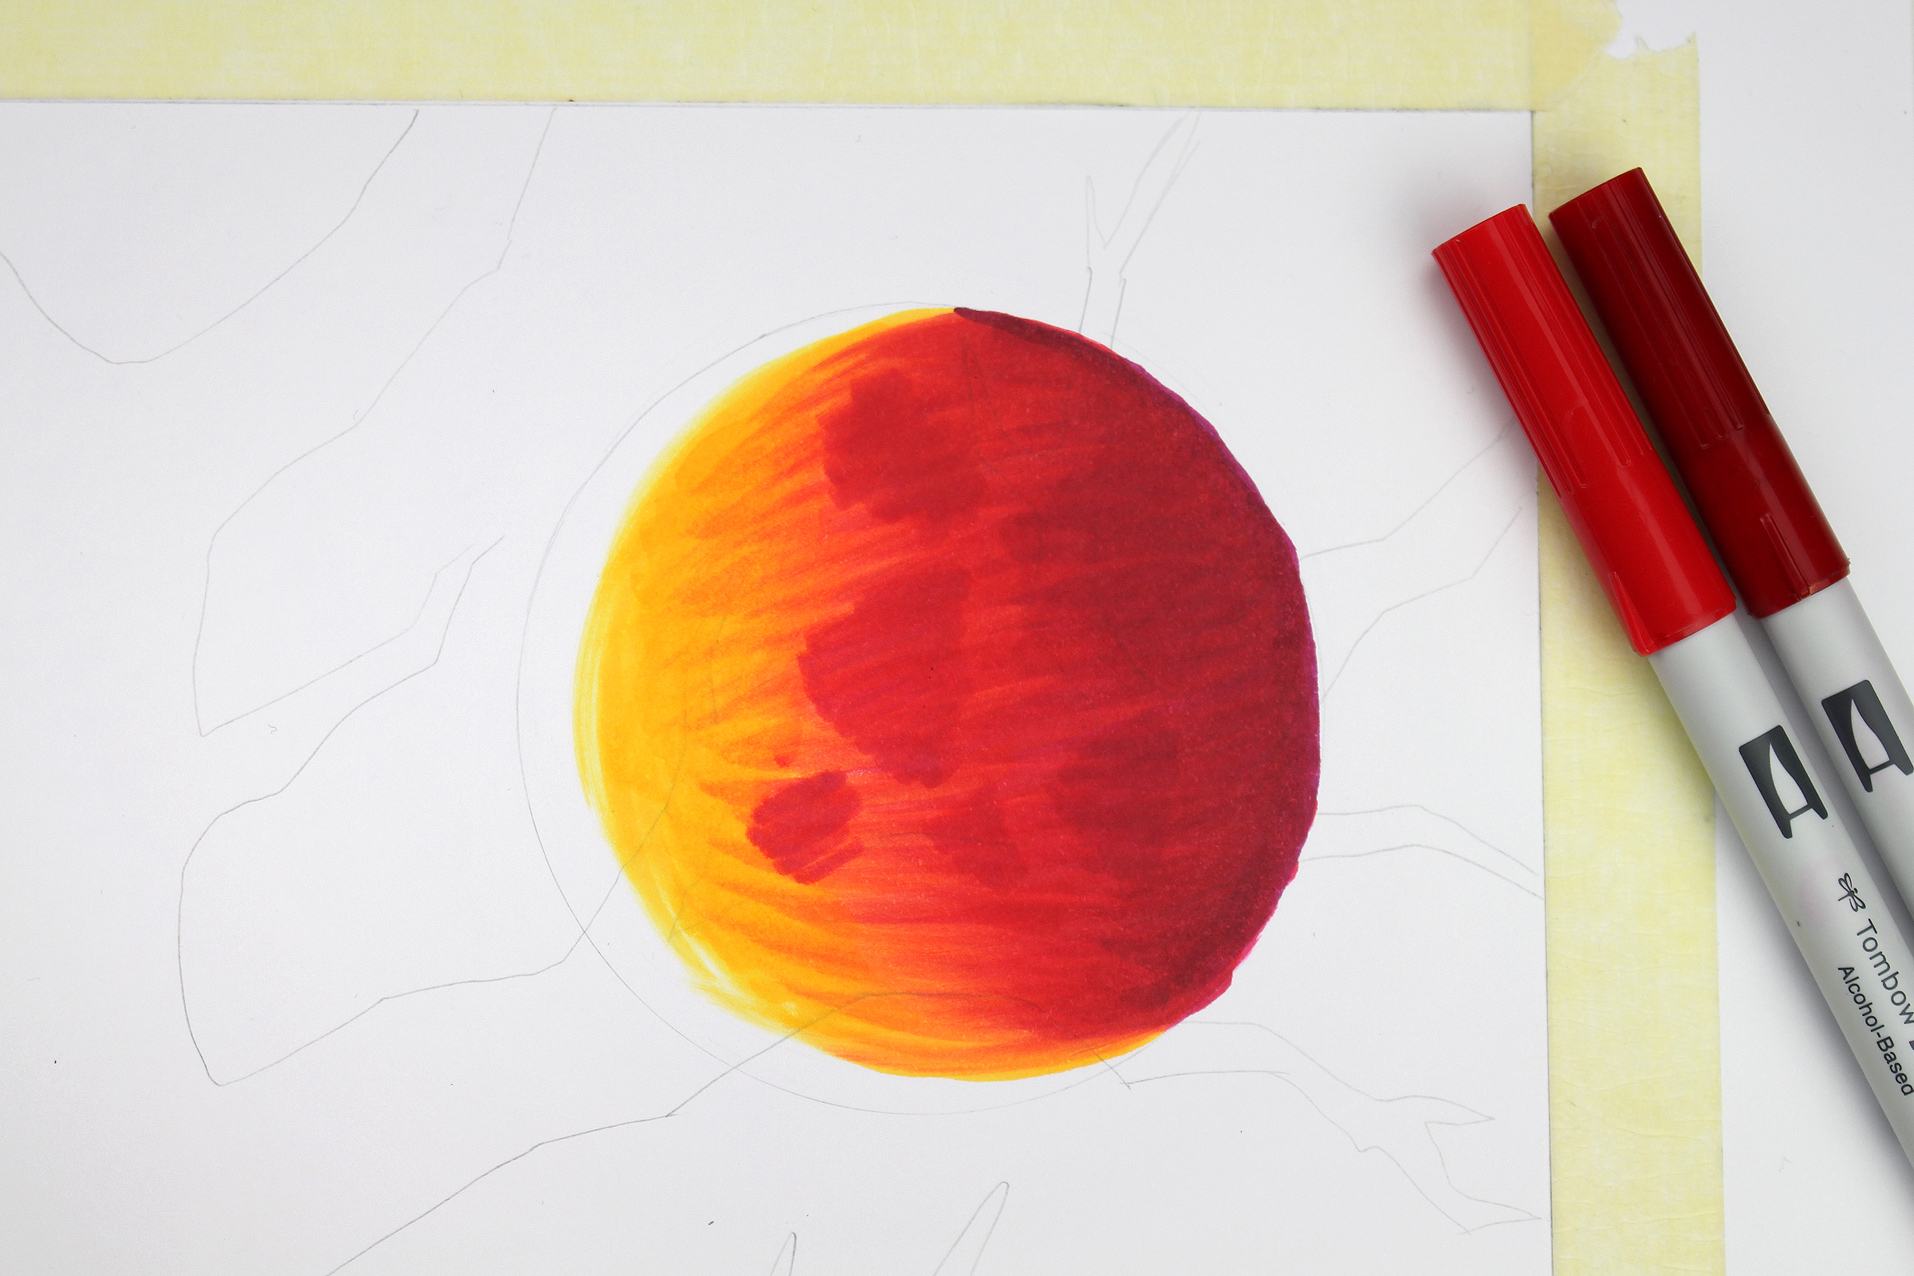
Our moon is illuminated from behind and therefore has its darkest point on the front (unlike the Christmas ball for example: https://www.tomboweurope.com/en/drawing-a-christmas-tree-ornament).
Start with the P757 port red color with the brush tip at the top right and let the color run towards the center of the moon. The lines should be slightly curved to match the curvature of the sphere of the moon. Do the same with the rest of the colors from dark to light (leaving out black).
With each additional color, color in a little more of the moon. Leave one section white at the bottom left. Then color the lunar crater of the moon using the P847 crimson color and blend everything a little with the P856 Chinese red color.
Start with the P757 port red color at the areas furthest from the moon. Use the brighter P847 crimson color on the parts of the sky that are somewhat closer to the moon. Follow the shape of the moon in a circle with the brush tip and blend the transition to the darker color of the sky. Color the rest of the sky with the even brighter ABT PRO P856 Chinese red color.
When the sky is completely filled in, go back to the darkest spots on the edge again and make them even darker (using the P757 port red color).
Blend the transitions with P856 Chinese red color until you are satisfied with the results.
Tip: Alcohol-based ink won’t damage your paper. You can draw over the same spot again and again without the surface of the paper becoming rough.
Step 4: Tree Coloration
If you have colored the tree black, use the chisel tip to draw a few more lines over the area that is already black. This gives the tree a slight texture of bark.
You can then go over the areas that are located further away from the moon in the shadows a few times with the chisel tip until they are a deep black.
The chisel tip works particularly well for the small branches.
Last but not least, carefully pull the masking tape off and, after your drawing is done, you can then howl at your own blood moon.
Olga Hopfauf and Stephan Baumgarten live and work together in Osnabrück as freelance cartoonists and illustrators. Their work can be found on t-shirts, in cartoon series and books. Through their profession they work with a wide variety of drawing materials. The ABT Dual Brush Markers have long been among their favourites. Since the ABT PRO markers have been available, there is another favourite in their pencil case.


