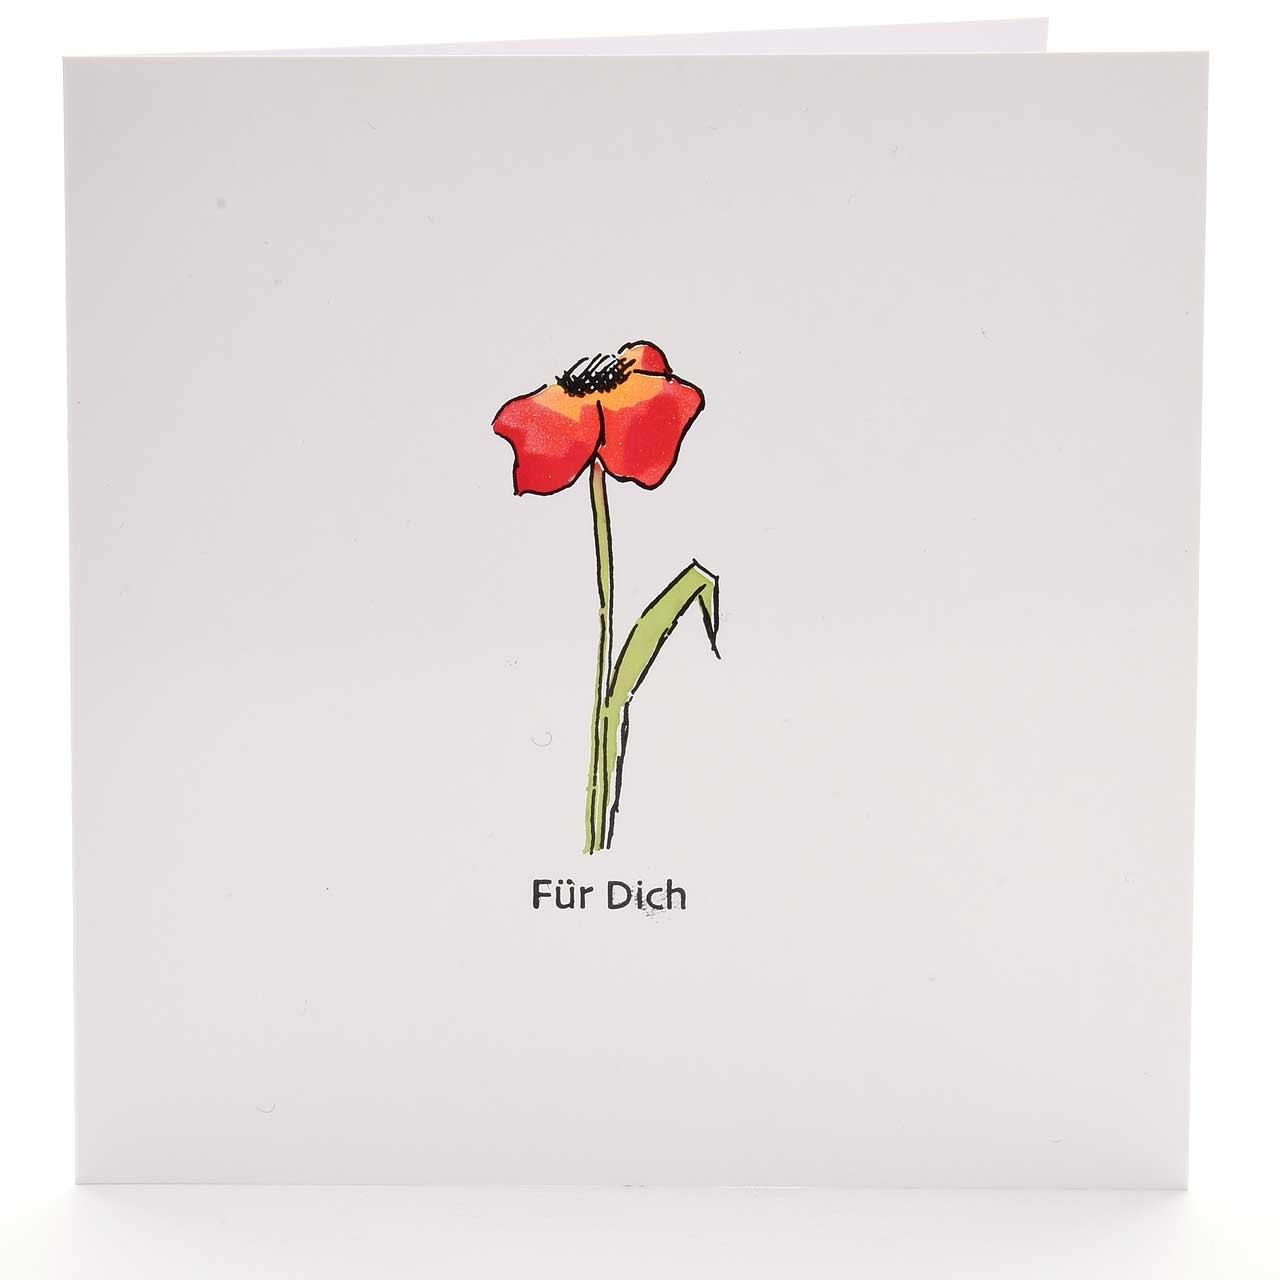
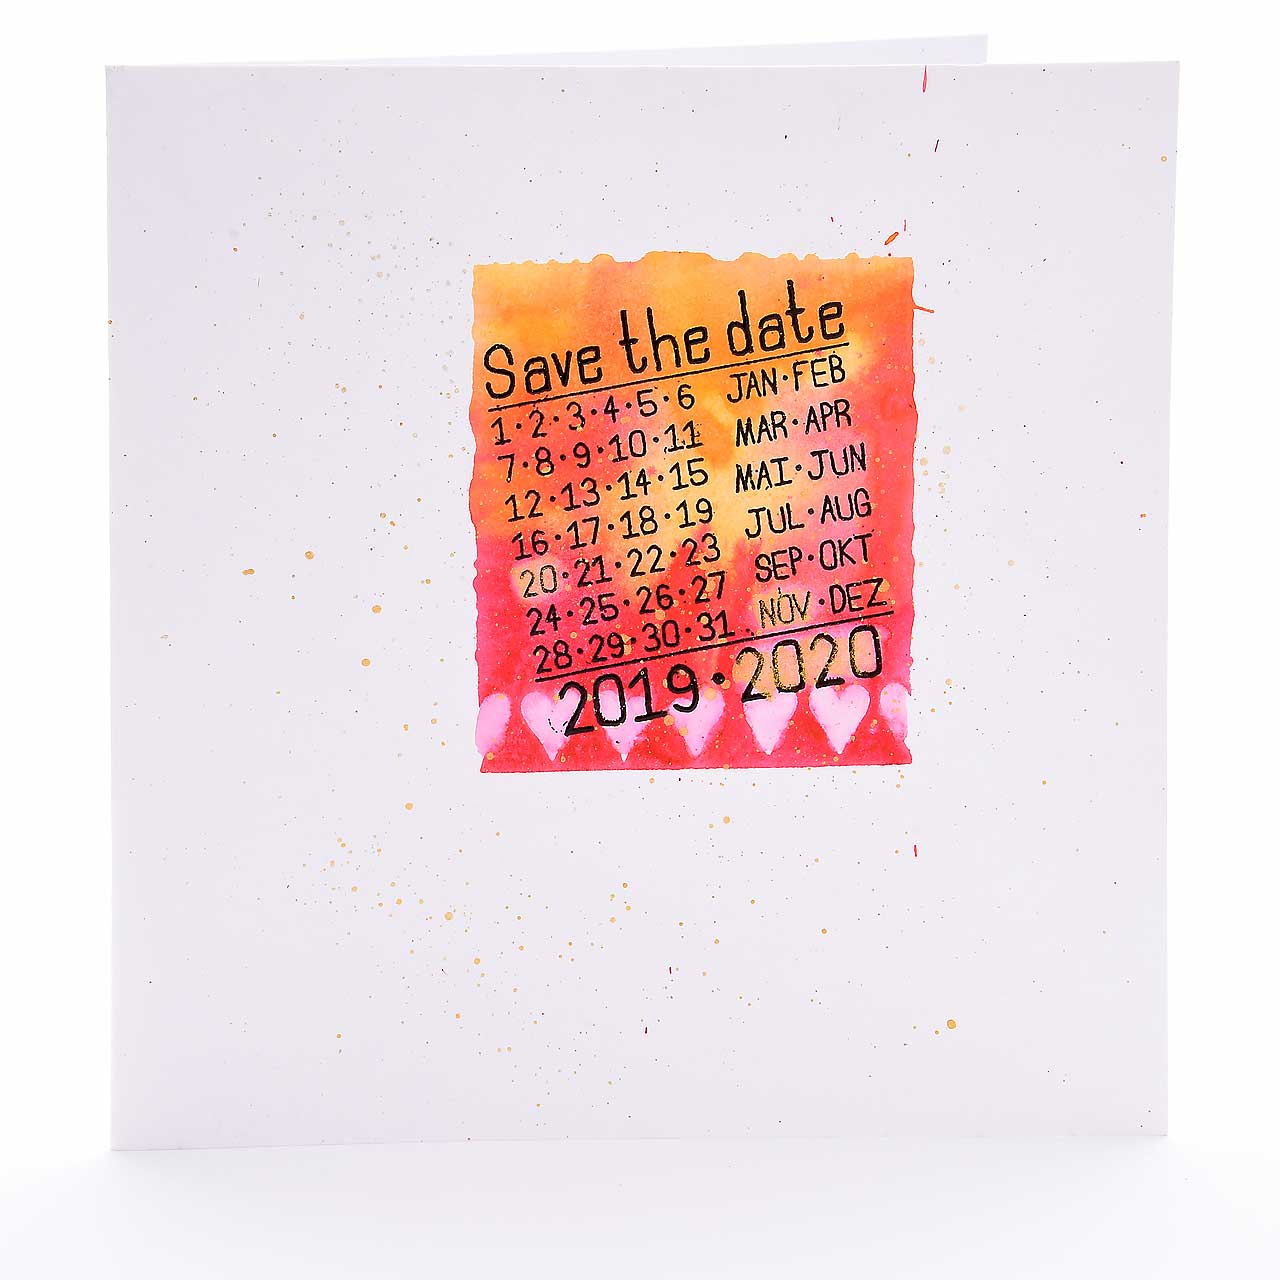
Make creative Stamp Images using water-based Brush Pens
Stamps are brilliant for applying wonderful motifs to a beautiful background. You might already have experience in handlettering or painting and want to expand your creative skills. Stamping is a great opportunity for showcasing beautiful motifs, even if you don't have a lot of experience in drawing. Read here what you need to watch out for with stamping and what colours you can use to get great results.
These are the techniques used in Stamping
With stamping there are lots of different techniques that you can use to realise different results.
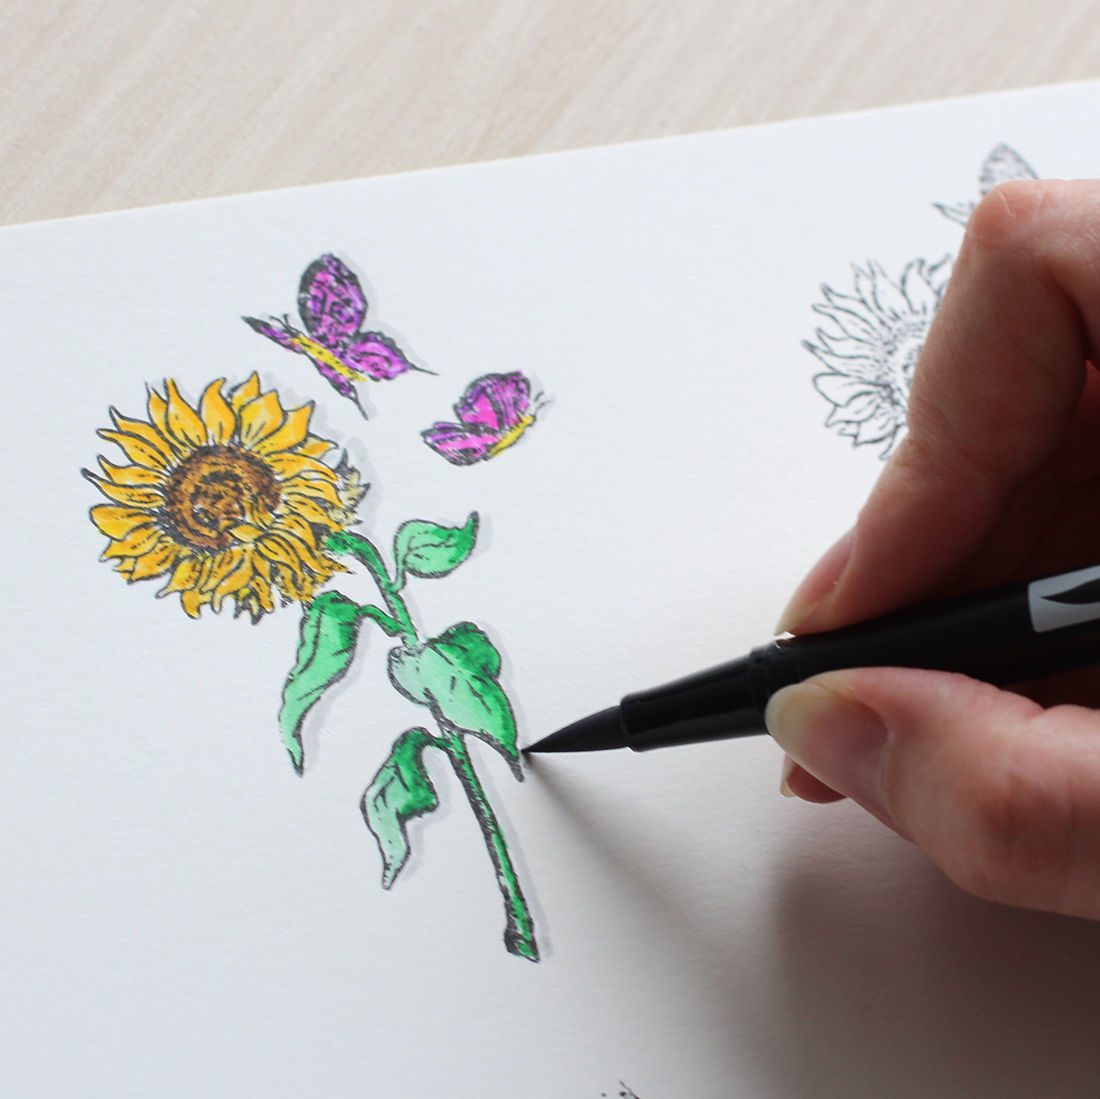
Stamp the outline and watercolour using the brush tip
For a delicate watercolour character, you can colour the outline using the colourless Blender for Brush Pens or a brush. First add some colour to the Blending Palette and then use the blender or Brush Pen to take up the colour. You can now apply it the paper. In this way, it will appear more subtle than when directly applied.
Mask foregrounds to create spatial depth
To create a spatial effect, you can also work in several layers. First stamp the foremost motif onto an additional thin sheet of writing paper and cut it out. This figure is your mask. Now stamp your paper and let the impression dry. Lay the cut out stamp mask exactly on the stamp impression. Then you can continue stamping without stamping over the first motif. If you have several levels, cover everything that you have already stamped in the same way before you continue stamping.
Which material is suitable for stamps and how are they used?
Materials made of rubber, silicone or linoleum are suitable for stamps. Ready-made stamps are available in an abundance of motifs and all kinds of sizes. They are often already attached to a carrier material and ready for use. Flat, flexible rubber stamps can be placed on a special acrylic plate to which they will adhere. After use, you can simply pull the stamp off again and use the acrylic plate for the next stamp. You can also combine stamp motifs to produce larger images. Some stamps have a so-called endless motif which you can continue to apply at the edges of each stamp impression and therefore continue stamping endlessly. This is a technique you can use to e.g. frame pages.
Water-based colours are suitable for stamping
Stamping inks should be water-based so that they do not affect the stamp material. Alcohol-based inks can attack or even dissolve the rubber stamp.
There are special stamping inks and pads that you can use. If the stamp is not large, press the stamp onto the ink pad using even pressure and then onto the paper. If the stamp is bigger than the stamp pad, do this in reverse order: pick up the stamp pad in your hand and use it to coat the stamp, which you then press onto the paper.
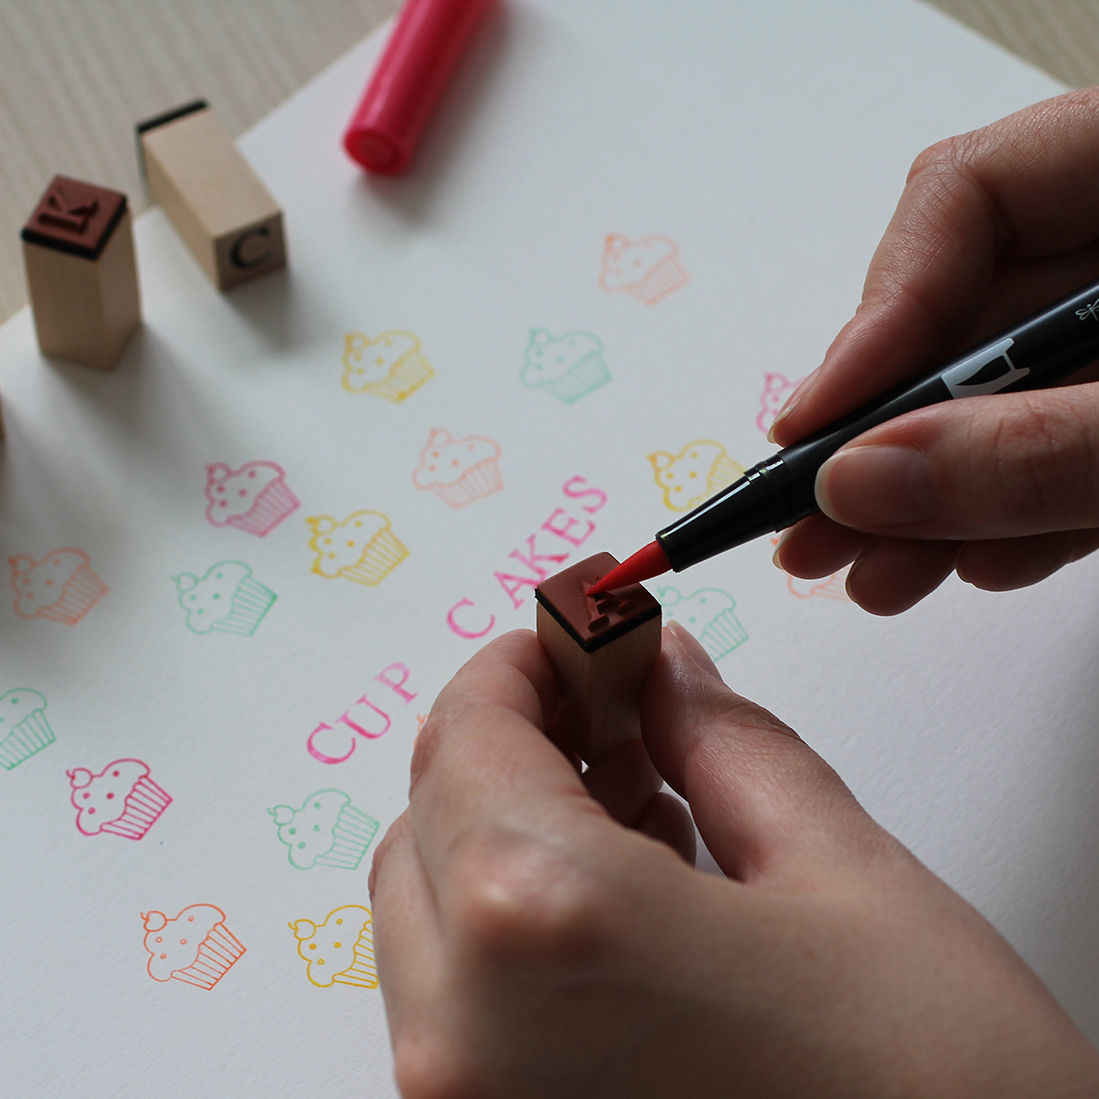
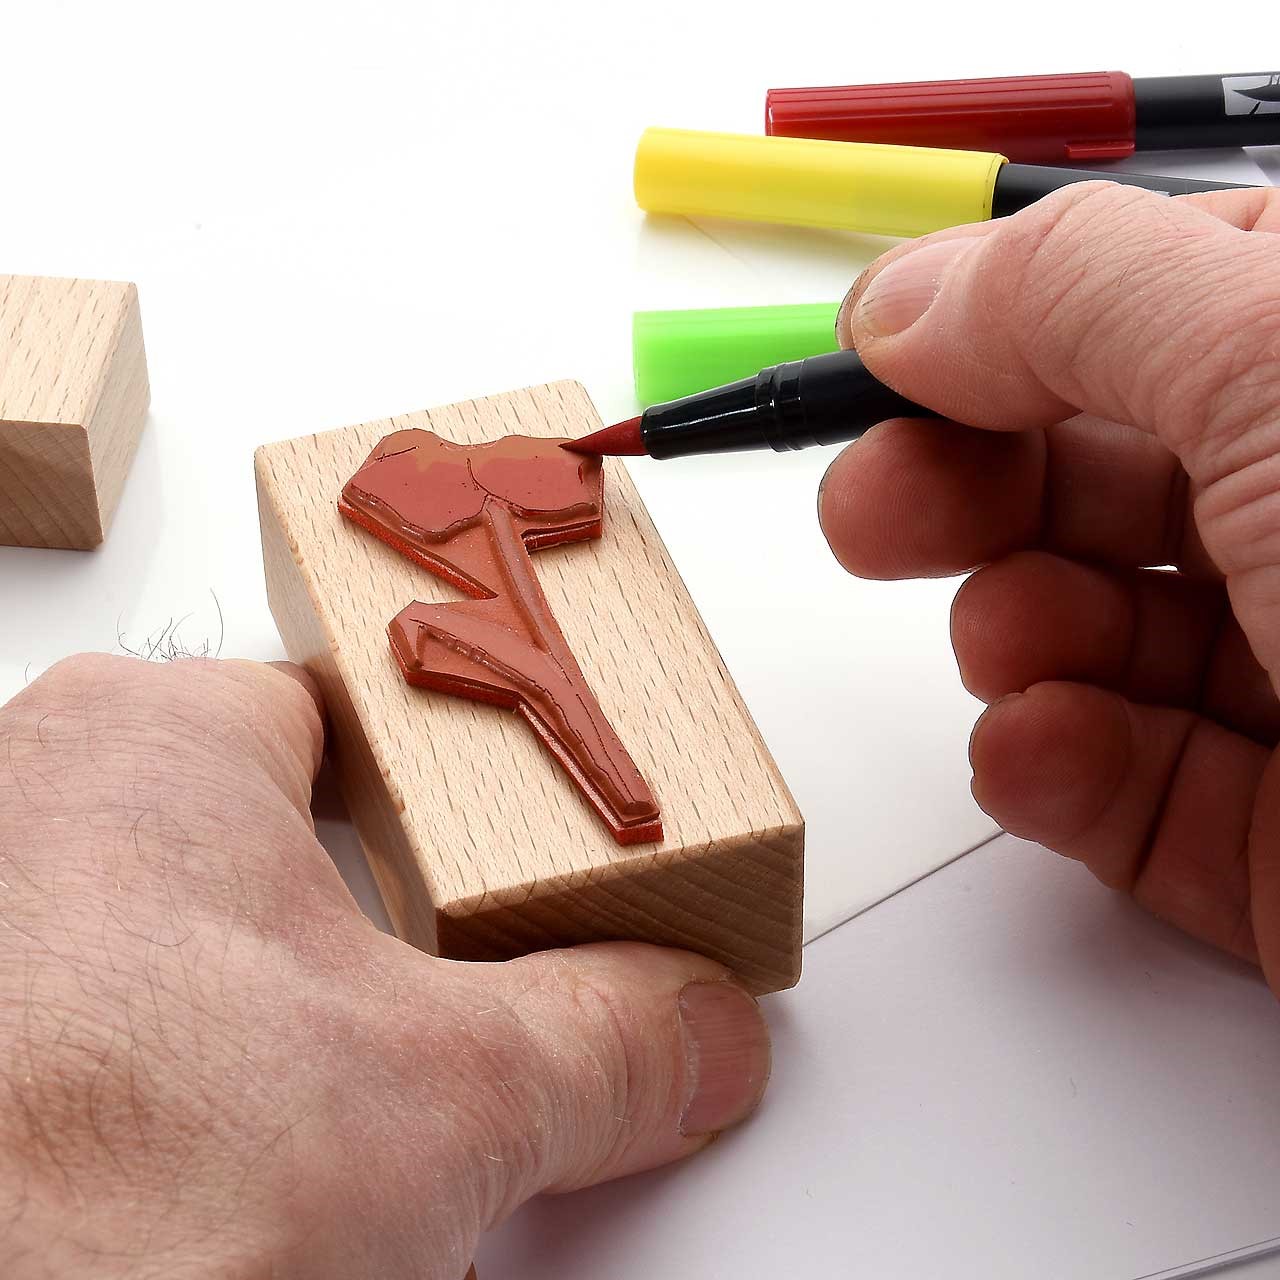
You can also work without a stamp pad and use pens instead. Water-based ABT Dual Brush Pens are particularly suited to this purpose.
You can simply coat the stamp with the ABT Dual Brush Pens – but make sure that you do not hold the pens vertically, instead coat the stamp using the fibre tip. This way, you will protect the shaped brush tip of your Brush Pens. Be careful: The colour dries very quickly. You can blow on it again before stamping or moisten it with the Blending Mister to give it a watercolour look.
This is how to build your own individual one-off stamp pad
You can easily make your own one-off stamp pad using the ABT Dual Brush Pens: apply some paint to the Blending Palette or film using the brush tip of the Brush Pens and mix the colours as desired. If you notice that the colour is too dry, you can add a bit of water using the Blender. This will result in a more effective watercolour effect when stamping.
Always clean your stamps immediately after printing
After you've used it, you should clean the stamp right away. If you use water-based colours for stamping, this is easy. Simply press the stamp down on a piece of paper again after you’ve finished using it. You can also have a soft, wet cloth lying on your worktable and press the stamp directly into the cloth. When you've finished working, clean the stamp under warm running water. You can also use a mild detergent if you need to. Also clean the stamp between individual stamping sessions so that the outlines come out clean.
Tip: If you’ve used black with the stamp, you should always clean the stamp immediately.
How to create your own stamp
There are some amazing stamps available to buy – but would you like to make your very own stamp? No problem – basically you can use any soft, non-absorbent material and make a stamp from it. Linoleum sheets or old erasers are particularly suitable. You can also buy larger rubber plates that you can cut a stamp out of. Draw the motif on the stamp material and cut it using hollow knives suitable for cutting lino. Leave only the parts that should remain visible as a contour when stamping.
What’s really important is: Stamps must be made of non-absorbent material, as the ink should sit on top of the stamp and not be absorbed into it.
Trace the contours? This isn't necessary because the character of the stamp is all the more accentuated by irregularities
Sometimes the stamp does not touch the paper evenly, so the outline is not closed everywhere. However, this does not have to be a disadvantage and can even emphasize the character of the technique. This means you don't necessarily have to trace the outline in afterwards. However, if you stamp on very rough paper, the print may become particularly irregular. It is therefore best to do a test print first in order to become familiar with the properties of the paper.
3D effect with glue and powder after stamping
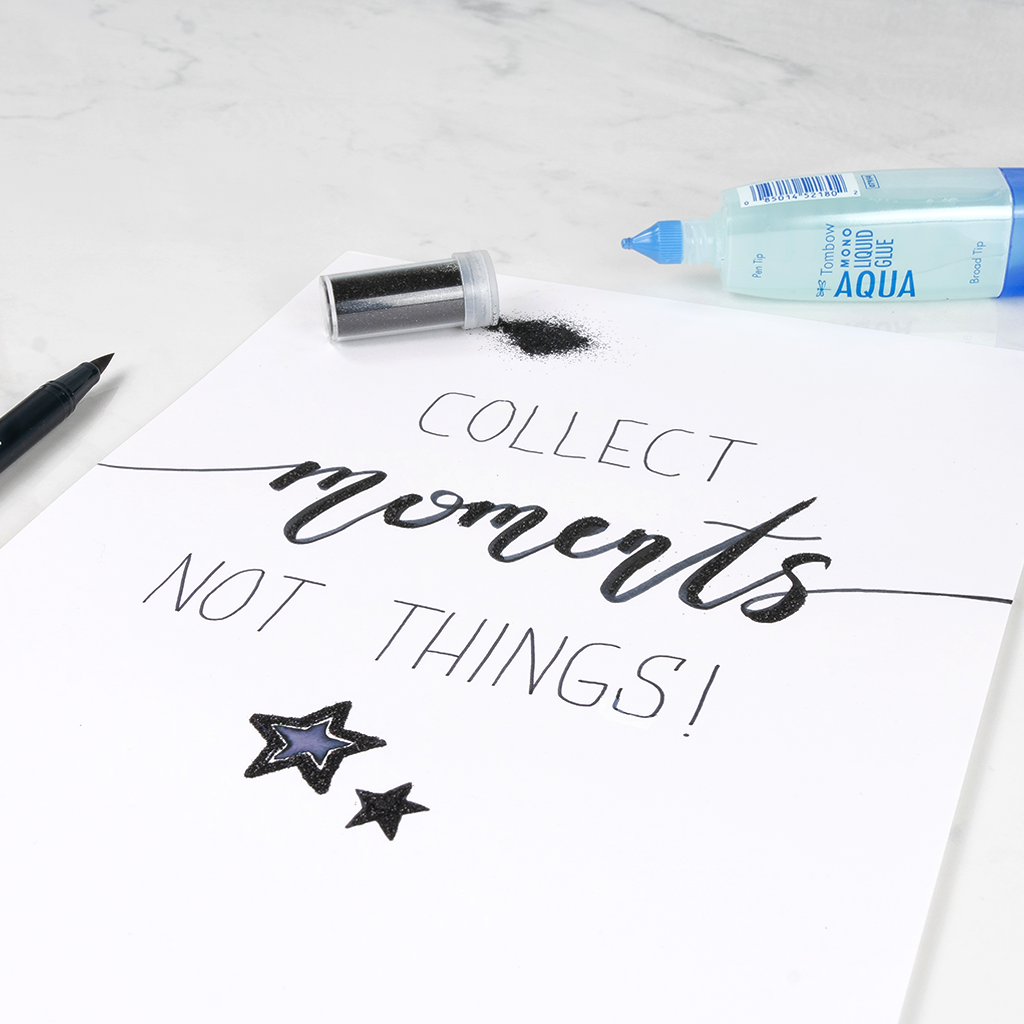
Depending on the stamp motif, it can enhance the image if you put some glue on one part of the motif and sprinkle it with glitter or coloured powder. This works wonderfully with the MONO AQUA Liquid Glue or the MONO MUTLI Liquid Glue. If, for example, you sprinkle glitter on the pistils of flowers, you will get a beautiful 3D effect. For very fine lines that you want to sprinkle with glitter, the MONO Glue Pen is ideal because you can apply it very thinly.
Products
Filter
Produkte Filtern:
Produkte Filtern:
Produkte Filtern:
Sorting

Brush Pen & Fineliner
Tombow ABT Dual Brush Pen Watercolor Manga Set
Elements in harmony: Experience the manga sets with 6 Tombow ABT Dual Brush Pens and a water brush. Available in four different sets.
Available in various colours
from
€19.90

Brush Pen & Fineliner
Tombow DIY Recipe Kit
Kit for creative recipe design and collection with pens, paper and metal box.
€17.90
€29.90
