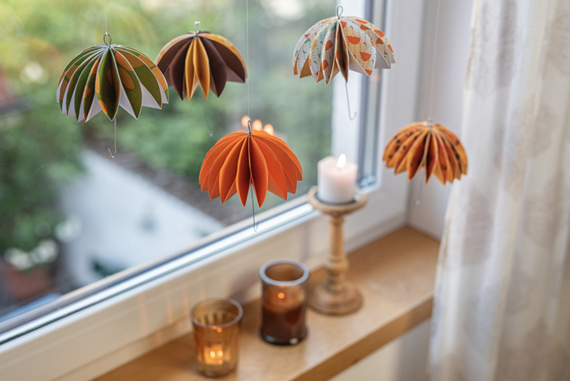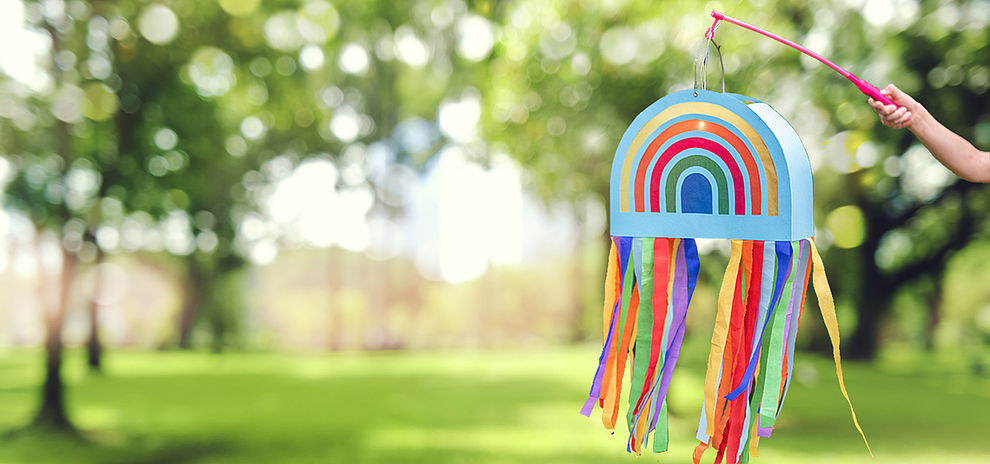
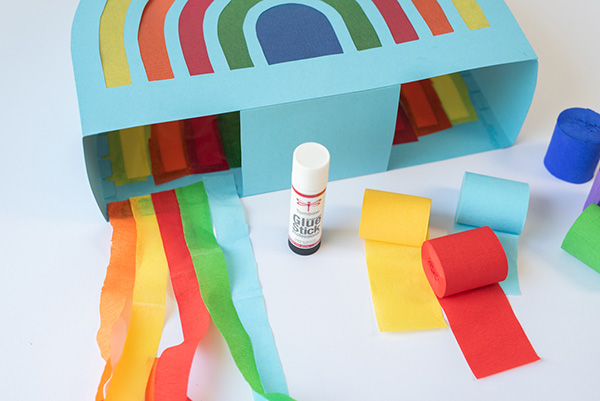
Make a rainbow lantern
Every fall, many parents in Europe ask themselves what motif their child’s lantern should have for this year’s St. Martin’s Day procession. Once a decision on the motif has been made, then comes the question: What kind of glue do I even need for this? If you’re asking yourself questions like these, you’ve come to the right place.
Katharina Pasternak, also known as Leelah Loves explains to you step-by-step how to make a rainbow lantern and also has valuable gluing tips for you.

Glue: Tips & tricks from Leelah Loves
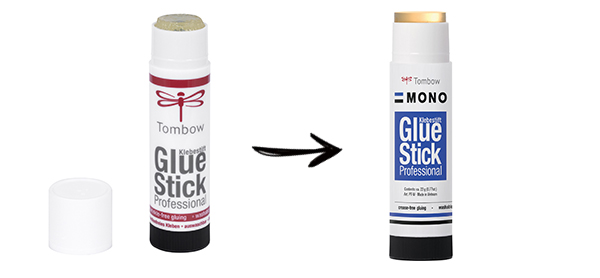
- When I’m making crafts with my children, I really like using glue sticks like the MONO glue stick since there is nothing to drip or spill. It’s a super strong crafting glue for all projects with light paper and cardboard.
- The MONO MULTI liquid glue is my absolute favorite glue. It’s super strong and can also be used on heavier cardboard as well as balsa wood. It’s perfect for projects made of paper that will need to hold up to heavy use – everything from a decorated box to a weekly planner. .
- The MONO AQUA liquid glue is perfect for craft projects that require precise gluing. Thanks to the fine tip, it is very easy to glue motifs onto cards or mementos in your travel journal!
- The glue roller PN-IP is not only my absolute favorite for tax returns :), but it is also perfectly suited for “mass production,” e.g., if you’re making a lot of invitations or gluing paper on notebooks. The glue roller is super convenient, it doesn’t dry out while you’re using it, and is ready to use at any time.
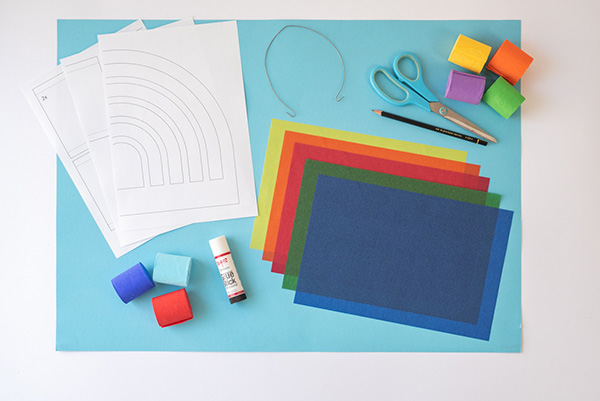

- A glue stick, such as MONO glue stick
- A pencil, such as MONO 100 HB
- 1 sheet of 18x24 construction paper
- Crêpe paper rolls in different colors
- A pair of scissors
- A box cutter or craft knife
- A hole punch
- Wire for hanging
- Optional: A pair of eyelet pliers
Step 1: Create your template
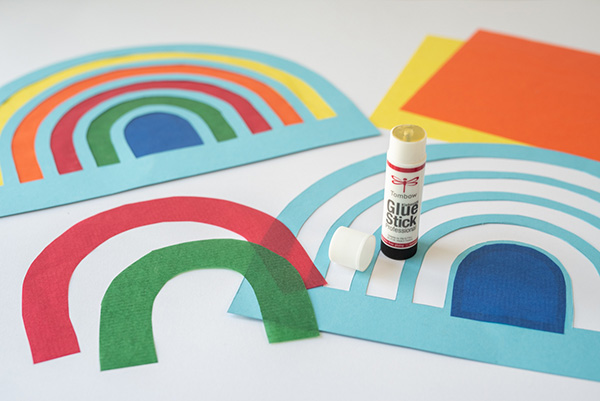
Without overlapping them, glue the sheets together for the template and then cut out the individual pieces. Transfer the templates to the construction paper.
Then cut out all the parts for the lantern. With the arches of the rainbow, it is best to use a box cutter, craft knife, or sharp scissors.

Leelah Loves
- Katharina Pasternak
Katharina Pasternak is a creative all-rounder. With her distinctive style and great love of detail, Katharina develops ideas related to the themes of DIY, interior, garden and cooking and publishes them on her blog. She also works as a photographer for furnishing magazines and books, as a stylist and as a content creator for companies, as well as for Tombow!